
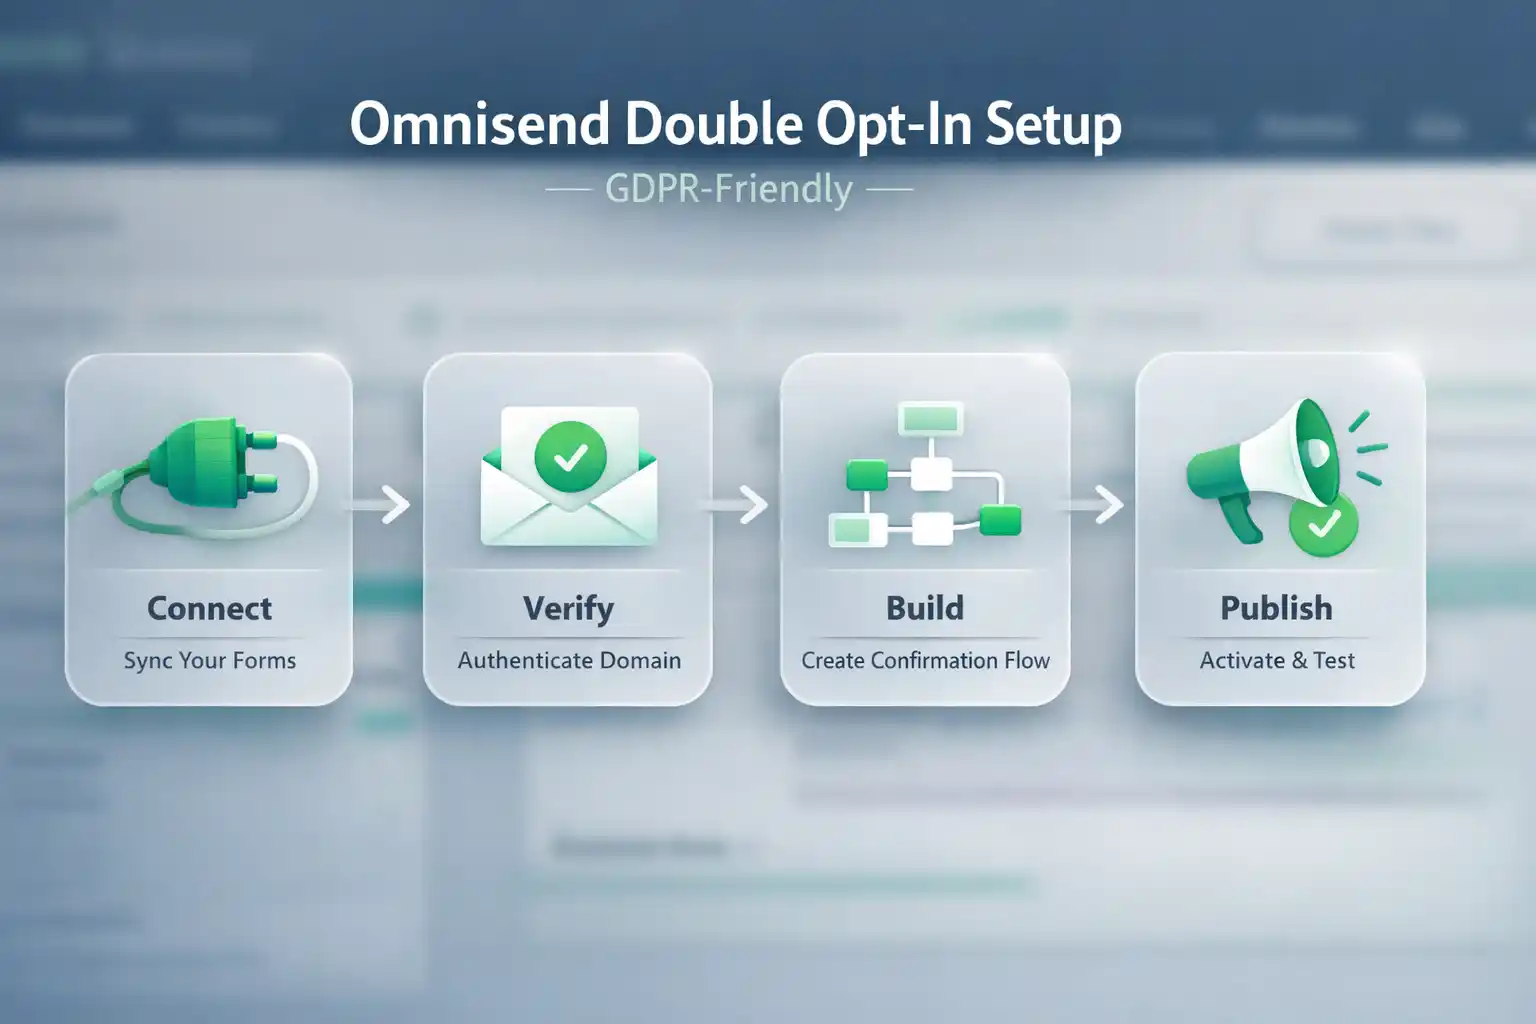
Omnisend double opt-in setup (GDPR-friendly)
Omnisend double opt-in confirms real subscribers before they become “Subscribed” — so your Welcome flow only starts after a valid confirmation click.
Before you start
Fast setup happens when you prep access + decisions. This removes 90% of “why doesn’t it work?” frustration.
What you need (2 minutes)
- Admin access in Omnisend (Settings + Forms).
- Recognizable sender name + sender email (ideally on your domain).
- Privacy policy link (for consent UX).
- Two test inboxes (Gmail + Outlook recommended).
Decide now (so you don’t rebuild later)
- Which sources use double opt-in: popups, lead magnets, footer form (recommended).
- Where users land after confirm: Omnisend confirmation page vs your own “Confirmed” page.
- Welcome rule: start only after confirmation (not on “form submitted”).
I agree to receive marketing emails (news, offers, tips) and accept the Privacy Policy.
GDPR note: Omnisend double opt-in strengthens proof and list quality, but compliance still depends on clear consent language, a policy link where needed, and a working unsubscribe in every marketing email.
Common mistakes (that waste hours)
These are the real reasons confirmation rates drop or flows misfire.
- Welcome triggers too early: don’t email unconfirmed contacts.
- Confirmation email looks suspicious: unclear sender name or “salesy” subject.
- Consent is vague: be explicit about what the subscriber will receive.
- No privacy policy link: weak UX for GDPR-friendly consent.
- 3rd-party forms/imports: built-in settings may not apply (use Step 7).
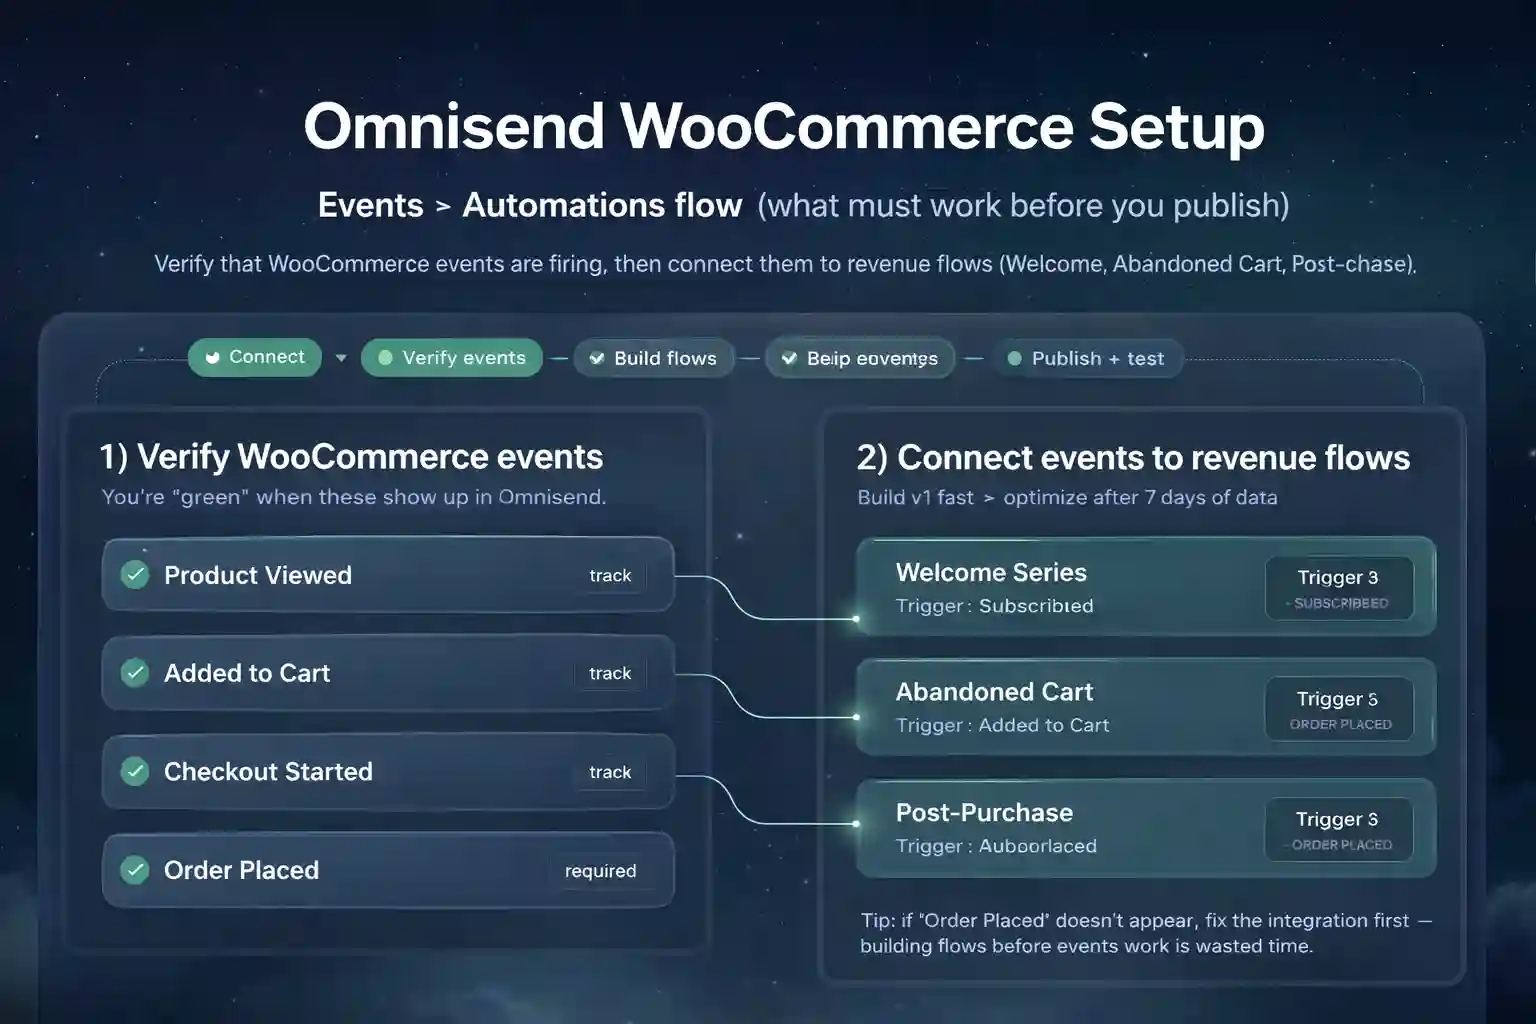
Step-by-step: Omnisend double opt-in setup
Follow the steps in order. You’ll be done when a test signup stays “Pending” until the click — and only then starts your Welcome automation.
Choose where double opt-in should apply
PlanList your signup sources (popup, footer, lead magnet, giveaway, checkout opt-in). Turn Omnisend double opt-in on for sources where quality matters most.
You have a clear yes/no list for each source.
If you’re unsure: enable double opt-in for popups + lead magnets first.
Enable double opt-in in Omnisend
EnableGo to Behaviour settings → Audience management and turn on Enable double opt-in. This activates confirmation email + confirmation page settings for Omnisend forms.
You can edit the confirmation email and confirmation page.
Check you’re editing the right store/workspace and have admin access.
Customize the confirmation email (keep it “obviously safe”)
CustomizeClarity beats creativity. Short copy, recognizable sender, one obvious button.
Please confirm your subscription
On mobile, the button is easy to tap and looks trustworthy.
Use your brand name as sender (not a person) and keep subject boring.
Set the confirmation page (Omnisend page or your own redirect)
ConfirmAfter the click, users should see a clear “you’re in” moment. Omnisend page is fine — redirect is better if you want a tailored next step (download / shop / next action).
Every confirm click shows success (or redirects correctly) every time.
Disable extra redirects/plugins temporarily and re-test in incognito.
Add GDPR-friendly consent UX on the form
ConsentDouble opt-in helps prove intent, but consent must still be clear. Use a checkbox (not pre-ticked) and a privacy policy link next to it.
A user understands consent in 5 seconds and can open the policy with one click.
Remove extra wording; keep only “marketing emails + policy link”.
Align your Welcome automation (only after confirmation)
AlignThis is the #1 mistake. When Omnisend double opt-in is enabled, your Welcome series must start only after the subscriber confirms — not right after form submit.
If a test user doesn’t confirm, they receive no Welcome emails.
Change the trigger / audience rule to target confirmed subscribers only.
Optional: Alternative double opt-in for 3rd-party forms or imports
AdvancedIf subscribers come from imports, API, or a 3rd-party form tool, built-in double opt-in may not apply. Use the official Omnisend guide for the automation-based alternative method.
Set up alternative double opt-in (Omnisend Help Center)
Contacts remain unconfirmed until the confirmation click happens.
Ensure your “pending” state is separated from marketing segments.
Test the full journey (desktop + mobile)
TestRun the full flow twice: signup → pending → confirm email → click → subscribed → welcome starts.
Works in Gmail + Outlook and on mobile tap (no broken redirects).
Check sender settings + deliverability (spam), then re-test in incognito.
Done checklist
Copy this as your “definition of done”.
- Omnisend double opt-in is enabled in settings.
- Confirmation email uses a recognizable sender + clear subject.
- Confirm button is obvious and easy to tap on mobile.
- Confirmation page shows a clear success message (or redirects correctly).
- Signup form includes consent checkbox (not pre-ticked) + privacy policy link.
- Welcome automation triggers only after confirmation.
- End-to-end test succeeded on Gmail + Outlook.
Quality bar (don’t get stuck in perfection)
Ship v1 today. If confirmation rate is low, simplify the subject line, make sender name more recognizable, and reduce form friction. Optimize after 7 days of data.
Ready to enable double opt-in and clean up your list?
Turn on Omnisend double opt-in once — and every future signup becomes higher quality by default.
Start Omnisend Free →