
Omnisend Free Trial: What You Get + Setup Checklist (So You Don’t Waste It)
The omnisend free trial is only valuable if you end it with working automations and clean deliverability. This omnisend free trial checklist shows the fastest setup order (and the mistakes that make trials “feel bad”).
If you follow the order below during your omnisend free trial, you’ll know within a few days whether Omnisend can pay for itself— because you’ll be measuring revenue from Welcome, Abandoned Cart, and Post-Purchase.
Pro tip: The biggest “trial killer” is sending campaigns before your domain is verified—deliverability drops, results look weak, and you blame the tool.

What you get on the Omnisend free trial (and what to watch)
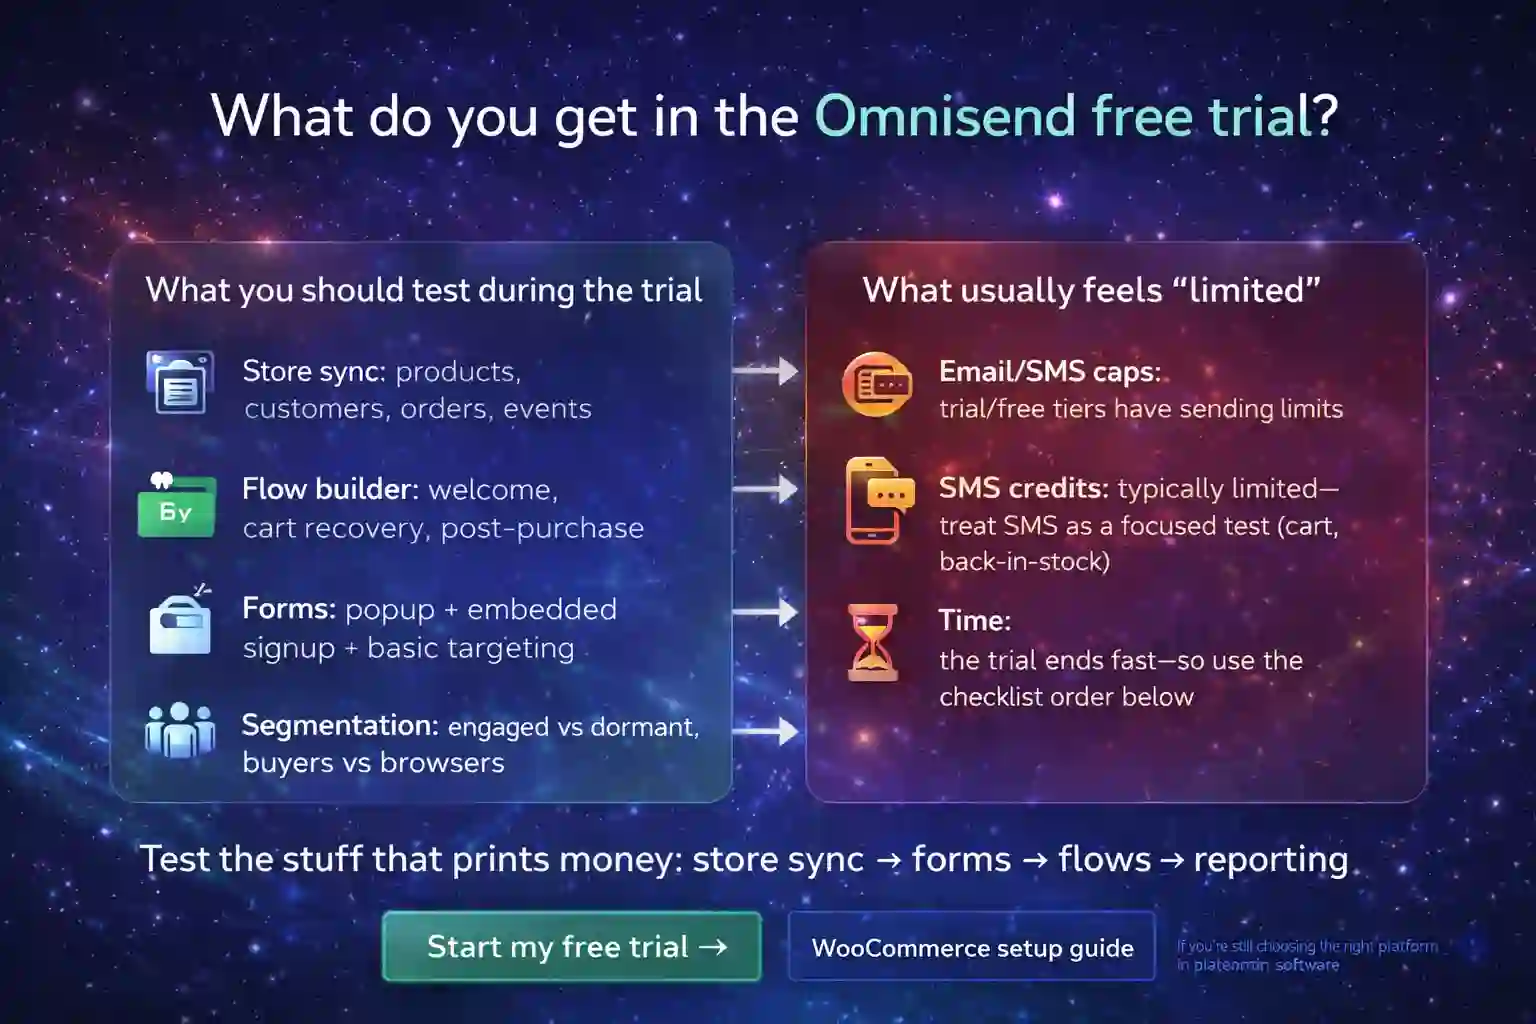
The omnisend free trial is built to let you test real ecommerce workflows (not just a “demo UI”). What matters is whether you can quickly get: store sync, forms, flows, and tracking working.
- Store sync: products, customers, orders, events.
- Flow builder: welcome, cart recovery, post-purchase.
- Forms: popup + embedded signup + basic targeting.
- Segmentation: engaged vs dormant, buyers vs browsers.
- Reporting: revenue per flow / per campaign (ROI clarity).
- Email/SMS caps: trial/free tiers have sending limits.
- SMS credits: typically limited—treat SMS as a focused test (cart, back-in-stock).
- Time: the trial ends fast—so use the checklist order below.
Setup checklist (best order for a “successful trial”)
Don’t do this randomly. The right order prevents deliverability issues and makes results measurable. Here’s the setup sequence that consistently works for Shopify/WooCommerce stores during an omnisend free trial.
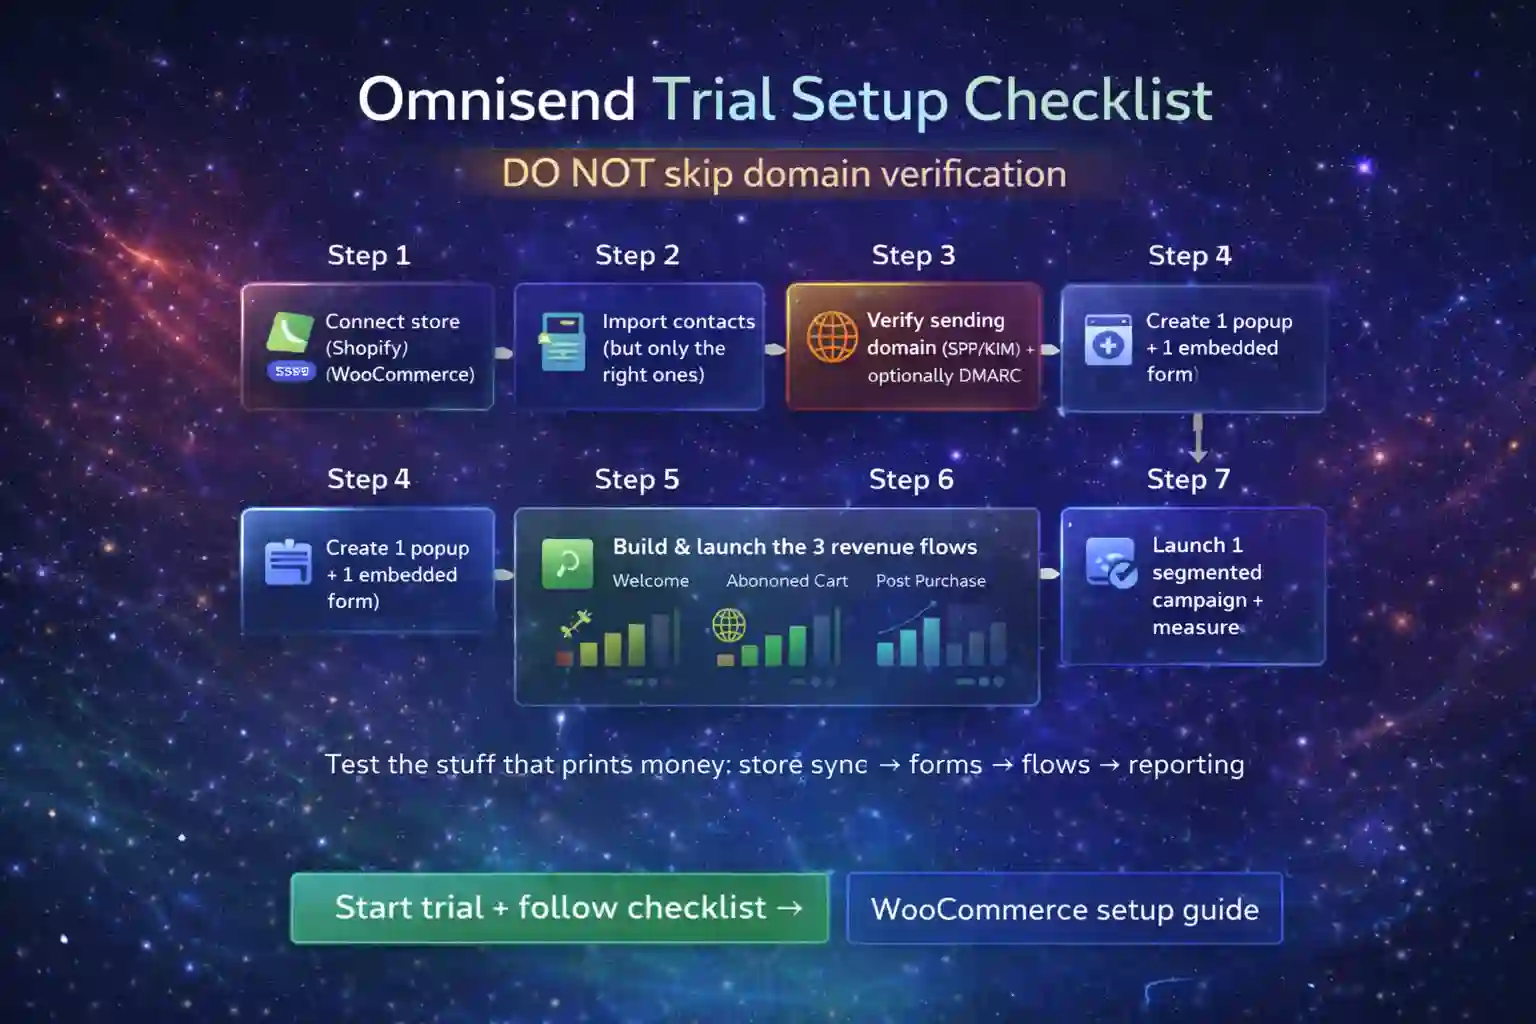
Step 1 — Connect your store (Shopify/WooCommerce)
Connect the store first so Omnisend can sync products, customers, order events, and browse/cart activity. If events don’t arrive, flows will “look fine” but won’t trigger.
Step 2 — Import contacts (but only the right ones)
Import only what you can actively re-engage. If you dump years of cold contacts into the system, you inflate your contact count and hurt early performance (low engagement → worse deliverability).
Step 3 — Verify sending domain (SPF/DKIM; optionally DMARC)
Do this before sending “real” campaigns. Verified domain = better inbox placement. Unverified domain = results look weaker and you waste the omnisend free trial.
External reference (follow): DKIM is defined in RFC 6376.
Step 4 — Create 1 popup + 1 embedded form
Your trial should prove list growth + revenue. Add a simple popup (offer + email capture) and one embedded form for pages where you already have traffic.
Step 5 — Build and launch the 3 revenue flows
Launch: Welcome, Abandoned Cart, Post-Purchase. (Details below.) These flows create measurable revenue even on small lists.
Step 6 — QA + tracking (UTMs, test orders, event triggers)
Run test signups, test carts, test purchases. Confirm each flow triggers and revenue appears in reporting. If you plan to add SMS, keep messages short and test only one high-intent flow at first.
Step 7 — Launch one segmented campaign + measure
Send a single campaign to an engaged segment (recent openers / recent buyers). Then compare: revenue per send, unsubscribes, spam complaints, click rate.
Day-0 / Day-1 quick start (fastest path to ROI proof)
Use your omnisend free trial like a sprint: reduce risk first (deliverability), then launch revenue flows, then measure.
- Connect store + confirm events come in.
- Verify sending domain (start now; DNS can take time).
- Create 1 simple popup (email only) + welcome incentive.
- Launch Welcome flow (2–3 emails).
- Launch Abandoned Cart (email first; SMS optional later).
- Launch Post-Purchase (thank-you + review/cross-sell).
Don’t blast a big campaign to a cold list “to test the platform.” That’s how you damage deliverability and get misleading results.
The 3 flows to launch first (highest ROI in the shortest time)
1) Welcome flow
Your welcome flow is where the trial often “pays back” first. Keep it simple: Email #1 delivers the offer, Email #2 shows bestsellers, Email #3 handles objections (shipping/returns/trust).
2) Abandoned cart flow
Start with email-only. If your store has enough traffic and you’re comfortable with SMS compliance, add a single SMS message as the highest-intent nudge.
3) Post-purchase flow
Don’t overbuild. Start with: order confirmation support + “how to use/care” + review request + cross-sell. This improves CLV and makes your omnisend free trial results stronger than “campaign-only” testing.
Mistakes that waste the trial (and make Omnisend look worse than it is)
These are the most common reasons an omnisend free trial feels “underwhelming” (even when the platform is fine):
- Skipping domain verification: low inbox placement → weak results → wrong conclusion.
- Importing cold contacts: low engagement hurts deliverability and inflates contact count.
- Testing everything at once: too many variables → you don’t know what worked.
- No measurement: if you don’t track revenue per flow, the trial is just “vibes.”
FAQ
How long should I wait before judging the Omnisend free trial?
Judge it after you have 3 flows live and at least one segmented campaign sent. Without flows, you’re not testing the “ecommerce automation” value.
Should I use SMS during the Omnisend free trial?
Only if you can test it responsibly: keep messages short, use a high-intent trigger (like abandoned cart), and measure revenue per send. Otherwise test email first.
What if I’m on WooCommerce?
Follow the WooCommerce checklist here: Omnisend WooCommerce setup.