
Omnisend Domain Authentication (SPF + DKIM + DMARC) Setup
This Omnisend SPF DKIM DMARC setup walks you through publishing the exact DNS records Omnisend generates, verifying them inside Omnisend, and confirming your emails are passing authentication. You’re done when Omnisend shows Verified and your test email header says SPF=pass and DKIM=pass.
What you’ll get at the end
After this Omnisend SPF DKIM DMARC setup, inbox providers can validate that your emails are legitimate. That typically improves placement and reduces “spoofing / on behalf of” style issues.
Reference (non-affiliate): DMARC standard (RFC 7489).
- Omnisend domain status = Verified
- Test email header shows SPF=pass and DKIM=pass
- DMARC record exists (start with monitoring if you’re new)
Before you start (avoid DNS surprises)
This Omnisend SPF DKIM DMARC setup is fastest if you prepare these 4 things first:
- DNS provider access (Cloudflare / registrar / hosting DNS)
- Omnisend admin access (to generate your records)
- Your chosen domain or subdomain
- A mailbox for testing (Gmail is fine)
- Create a second SPF record (SPF must be single per domain)
- Copy DKIM values from random blogs (use Omnisend-generated values)
- Panic-refresh verification after 3 minutes (propagation can take time)
Common mistakes (that waste hours)
- Wrong “Host/Name” field (some DNS tools want just _dmarc, others want _dmarc.yourdomain.com).
- Two SPF TXT records → SPF fails even if both look correct.
- DKIM selector formatting differs by provider (some want the full selector including ._domainkey).
- Proxy/CDN toggles on CNAME (set DNS-only for auth records if your provider supports proxying).
- Impatience (verification can fail until DNS fully updates).
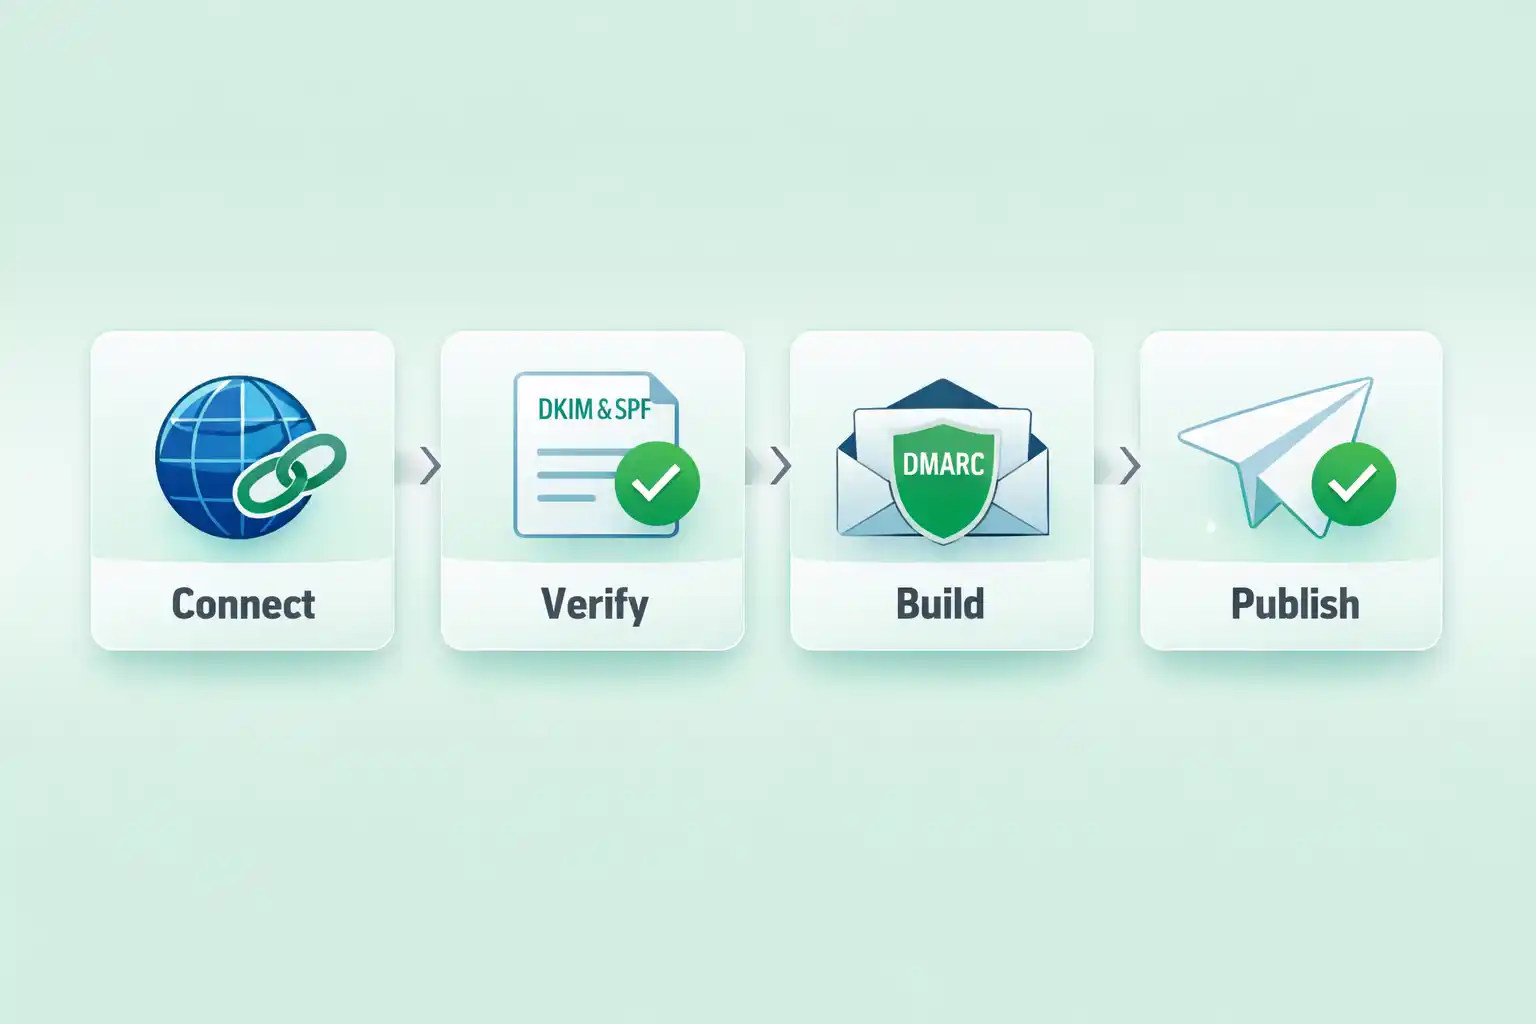
Omnisend SPF DKIM DMARC setup: step-by-step
Choose your sender domain (domain vs subdomain)
This keeps sending reputation clean and avoids conflicts with other tools.
- If your main domain already sends mail via Google/Microsoft, consider email.yourdomain.com.
- If you’re starting fresh, root domain is fine too.
You can clearly state your sending domain/subdomain.
In Omnisend, generate your SPF/DKIM/DMARC records
You must publish the exact values Omnisend provides.
- Open Omnisend → sender domain setup.
- Add your domain/subdomain.
- Copy the DNS records shown for SPF, DKIM and DMARC.
Ship v1 today. You can harden DMARC later after 7 days of data.
Publish SPF (TXT) — keep SPF as a single record
SPF must be one TXT record per domain/subdomain.
- In DNS, search for an existing TXT that starts with v=spf1.
- If none exists: create one using Omnisend’s SPF value.
- If one exists: merge Omnisend’s include into the existing record (no duplicates).
v=spf1 [existing includes] [add Omnisend include] ~all
Only one SPF record exists for your sending domain/subdomain.
Publish DKIM (usually CNAME) exactly as Omnisend shows
DKIM proves the email was signed by your domain.
- Create the DKIM record in DNS using the exact Host/Name + Value from Omnisend.
- Be careful with selector formatting (some DNS UIs auto-append your domain).
DKIM record matches Omnisend exactly (no missing dots/spaces).
Publish DMARC (TXT) — start with monitoring
DMARC tells receivers what to do if SPF/DKIM fails alignment.
- Create a TXT record at _dmarc.
- Use a monitoring-first policy if you’re unsure.
v=DMARC1; p=none; adkim=r; aspf=r; pct=100
DMARC TXT exists and starts with v=DMARC1.
Halfway done ✅
If Omnisend is not open yet, open it now and finish verification (this is where most people stop).
Verify your domain inside Omnisend
Verification only works after DNS propagation.
- Return to Omnisend and click Verify/Finish verification.
- If it fails immediately, re-check record type and Host/Name formatting.
Omnisend shows Verified.
Assign the verified domain for Campaigns & Automations
Verification alone isn’t enough—you must select the domain “in use”.
- Set your verified domain/subdomain for Campaigns and Automations.
Both sending settings point to your verified domain.
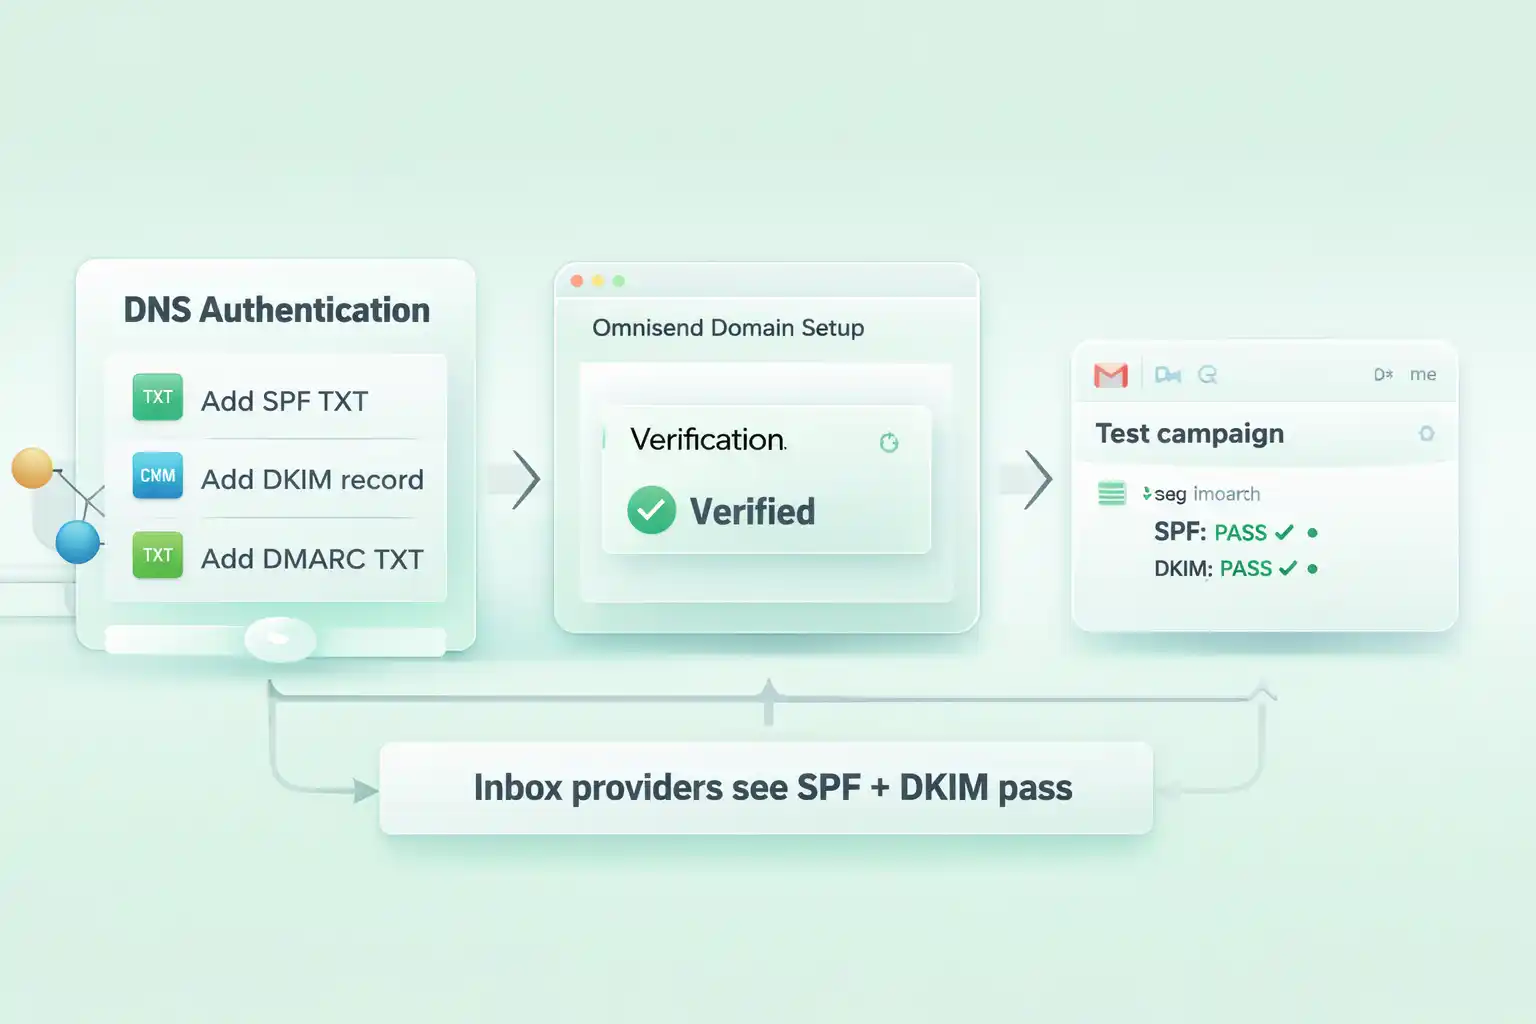
Send a test email and confirm SPF/DKIM PASS
This confirms real-world authentication, not just DNS existence.
- Send a test campaign to a Gmail address.
- In Gmail: open email → “Show original” → look for SPF: PASS and DKIM: PASS.
SPF and DKIM show PASS (DMARC should pass if aligned).
Warm up sending (ship v1 today)
Gradual ramp protects deliverability after your Omnisend SPF DKIM DMARC setup.
- Send to engaged contacts first (recent buyers/openers).
- Ramp over 7–14 days (don’t blast full list on day 1).
- Monitor bounces/spam complaints and clean list if needed.
Ship v1 today. Optimize after 7 days of data.
DNS → Verify → Pass (visual map)
Use this as your one-screen reference while editing DNS.
Done checklist
If any item is “no”, fix it now—then you can close this tab.
Finish your Omnisend SPF DKIM DMARC setup now
Open Omnisend and complete verification. No credit card required to start.
Start Omnisend FreeCancel anytime • Ship v1 today • Optimize after 7 days